You need a flexible, acrylic-based fabric paint for lycra spandex projects. It is designed to stretch with your fabric. These specialized paints bond directly with the synthetic fibers of the fabric. This action prevents the cracking and peeling that occurs with standard craft paints when the lycra is stretched.
The demand for high-quality results is growing, especially in markets like cosplay and custom activewear, which are projected to expand significantly.
| Metric | Value |
|---|---|
| Market Size in 2025 | USD 5,390.1 Million |
| Projected Market Size in 2035 | USD 9,207.2 Million |
| CAGR (2025 to 2035) | 5.5% |
Key Takeaways
- Always use flexible, acrylic-based fabric paint for Lycra spandex. This paint stretches with the fabric and prevents cracking.
- Prepare your fabric by pre-washing it and stretching it before painting. This helps the paint stick better and prevents cracks when worn.
- Apply paint in thin layers, letting each layer dry. Thick paint makes the fabric stiff and causes cracking.
- Heat-set your painted design after it dries completely. This step makes the paint permanent and washable.
- Avoid common mistakes like using the wrong paint or skipping heat-setting. These actions ensure your design lasts.
Our Top 5 Recommended Fabric Paints for Lycra Spandex
Choosing the right paint is the most critical step for your project’s success. You need a formula that bonds with synthetic fibers and moves with the garment. Here are our top recommendations that deliver professional, flexible results on stretchy fabrics.
Jacquard Textile Color: Best Overall
You will find Jacquard Textile Color is the top choice for serious crafters and professionals. This paint leaves your fabric feeling soft after application. It is also incredibly durable through repeated washing. You must heat-set the paint for permanent, colorfast results on synthetic materials like Lycra. The formula resists chipping, cracking, and peeling, even with constant movement.
Pro Tip: When painting on dark fabrics, you should apply a white base coat first. This step ensures your final color appears vibrant and true. A bright color may look dull without this base layer.
Some users note that the paint can appear thick. You should always stir it well before use. While Jacquard offers excellent flexibility, remember that large, solid painted areas can ripple if the garment is stretched to its absolute limit. For best results, use it for detailed designs or patterns rather than full-coverage applications.
Tulip Soft Fabric Paint: Best for Beginners
Tulip Soft Fabric Paint is an excellent starting point if you are new to customizing activewear or cosplay outfits. This fabric paint for lycra spandex is known for its user-friendly properties and reliable performance. It dries soft and flexible, so your finished garment remains comfortable to wear.
Key features that make it great for beginners include:
- Versatile Application: You can easily use it for various techniques, including brushing, stenciling, and stamping.
- Lightweight Feel: The paint does not add significant weight or stiffness to the fabric.
- Proven Durability: It holds up well against multiple wash cycles without cracking or fading.
This paint provides a forgiving medium for you to practice your skills before moving on to more specialized products.
Suerte Fabric Paint: Budget-Friendly Option
Suerte Fabric Paint offers a fantastic balance of quality and affordability. This makes it an ideal choice for large projects or cost-sensitive creators. Leveraging an advanced production infrastructure, Suerte provides low-cost solutions that deliver impressive visual effects. Their expertise covers a wide range of knit fabrics and processing techniques, including digital printing and dyeing. This background ensures their paint is developed with a deep understanding of how color interacts with different textiles. You can trust this option to provide reliable results without stretching your budget.
Golden GAC 900 Medium: Best for Customization
Golden GAC 900 is not a paint itself. It is a fabric painting medium that you mix with acrylic paints. This product gives you total control over your paint’s consistency, softness, and color. You can transform almost any standard artist acrylic paint into a durable, flexible fabric paint.
You should mix GAC 900 with your acrylic paint at a 1:1 ratio. This mixture creates a soft finish that resists cracking on stretchy materials. You can use this versatile medium with many types of acrylics, including Golden Heavy Body and other standard artist acrylics. This customization lets you create the exact color you need for your project.
GAC 900 is excellent for various application techniques:
- You can blend it with High Flow Acrylics for tie-dye effects that hold up in the wash.
- You can mix it with Heavy Body or Fluid Acrylics to create durable inks for silk-screening.
- You can add it to your paints for hand-brushing to ensure a softer feel and prevent cracking.
Tulip ColorShot Spray: Best for Gradients
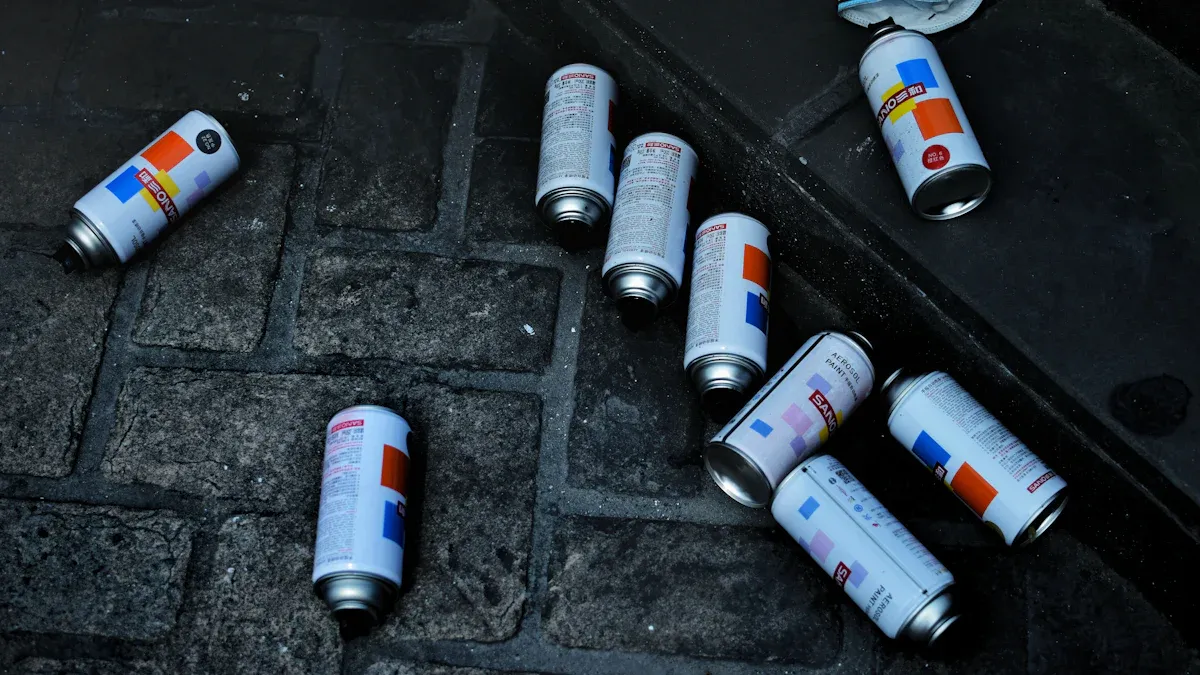
Tulip ColorShot Spray is your best choice for creating smooth gradients and covering large areas quickly. This aerosol fabric paint for lycra spandex provides an even, fine mist. It allows you to blend one color into another seamlessly for beautiful ombré effects. The spray application also works exceptionally well with stencils, giving you crisp, clean lines without brush marks.
Application Tip: Always work in a well-ventilated area and protect surrounding surfaces from overspray. Use painter’s tape and paper to mask off sections of your garment. This ensures your spray stays exactly where you want it.
The paint dries quickly and remains flexible, making it perfect for activewear and full-body costumes. You can easily build up the color intensity with multiple light coats. This method gives you excellent control over the final look of your design.
Key Factors When Choosing Your Paint
Selecting the right paint involves more than just picking a color. You must evaluate its technical properties to ensure your design looks professional and lasts. Consider these key factors before you make a purchase.
Flexibility and Stretchability
Lycra is a highly elastic material. Your paint must match this flexibility to prevent your design from cracking or flaking. A rigid paint will break apart when the fabric stretches, ruining your hard work. You need a formula that chemically bonds with the synthetic fibers and moves with them.
The best paints become a part of the fabric itself. They do not simply sit on top of the surface. This integration is crucial for achieving a durable, crack-free finish on any stretch material.
Opacity on Light vs. Dark Fabrics
A paint’s opacity determines how well it covers the fabric’s original color. Transparent paints allow the base color to show through, which works well for light-colored garments. However, you need a highly opaque paint for dark fabrics to make your chosen color appear vibrant and true. Some paints are specifically formulated for excellent coverage on darks:
- Lumiere and Neopaque Fabric Paint
- Setacolor Dark Fabrics
- DecoArt SoSoft Opaque Fabric Paint
Durability and Wash-Fastness
Your finished project will face stress from movement and washing. A high-quality fabric paint for lycra spandex offers excellent durability. Look for paints that are labeled as permanent and machine washable after proper heat-setting. Heat-setting cures the paint, creating a permanent bond that resists fading and peeling through repeated use and cleaning.
| Paint Quality | Heat-Setting | Expected Result |
|---|---|---|
| High | Properly Done | Permanent, vibrant color |
| Low | Properly Done | Prone to fading or cracking |
| High | Skipped | Design will wash out |
Application Method: Brush, Spray, or Marker
Your choice of application tool directly impacts the final look of your design. Each method offers unique advantages for different artistic effects. You should select the tool that best matches your project’s requirements for detail, coverage, and style.
1. Brush Application 🖌️ Brushing is the most traditional method for applying fabric paint. You gain maximum control for detailed work, lettering, and intricate patterns. Soft-bristled synthetic brushes work best. They help you apply smooth, even layers without damaging the delicate Lycra fibers.
Pro Tip: Use a variety of brush sizes. A fine-tipped brush is perfect for outlines and small details. A wider, flat brush helps you fill in larger color blocks more efficiently.
2. Spray Application Aerosol sprays are your best option for covering large surfaces quickly and creating smooth gradients. You can achieve beautiful ombré effects by blending colors seamlessly. Sprays also work exceptionally well with stencils, giving you sharp, professional edges without any brush marks. Always work in a well-ventilated space to ensure safety.
3. Marker Application Fabric markers give you the precision of a pen. You can use them for crisp outlines, fine lines, and detailed illustrations. They are an excellent choice for adding text or signing your work. Markers provide a consistent flow of paint, which simplifies the process of creating clean, sharp designs.
This table summarizes which tool to use for your specific needs:
| Method | Best For | Key Advantage |
|---|---|---|
| Brush | Detailed patterns, lettering | High precision and control |
| Spray | Large areas, gradients | Fast coverage, smooth blends |
| Marker | Outlines, fine lines, text | Pen-like accuracy |
Ultimately, you can combine these methods. For example, you might spray a base gradient, add brushed details, and finish with marker outlines.
How to Paint on Lycra for Crack-Free Results
Achieving a professional, durable finish on stretchy material requires a specific technique. You must prepare and paint the lycra fabric correctly to prevent your design from cracking when stretched. Following these steps ensures your artwork moves with the garment and lasts through wear and washing.
Step 1: Pre-Wash Your Fabric
You should always start by washing and drying your garment without any fabric softener. New textiles are often treated with chemicals, known as sizing, to keep them stiff and smooth for manufacturing and sale. These chemicals create a barrier that prevents paint from properly bonding to the fibers.
Note: Fabric softeners and dryer sheets leave behind a waxy residue. This residue can interfere with paint adhesion. You should skip them entirely during this preparation phase.
Pre-washing accomplishes two critical goals:
- It removes any sizing, oils, or dirt from the surface.
- It pre-shrinks the material, so your design’s proportions remain accurate after future washes.
A clean surface is essential for a permanent, professional-quality application.
Step 2: Stretch the Material Before Painting
You must stretch the material before you apply any paint. If you paint on unstretched fabric, the design will crack and distort as soon as the garment is worn. Stretching the material opens up the fibers, allowing the paint to penetrate deeply.
You can stretch your garment over a piece of cardboard or a plastic form that mimics the size of the body part it will cover. For example, stretch a legging over a cardboard insert cut to the width of a leg.
| Item to Paint | Stretching Method |
|---|---|
| T-shirt / Bodysuit | Insert a large piece of cardboard |
| Leggings / Sleeves | Use a cardboard insert cut to size |
| Gloves | Wear one glove while painting the other |
Pro Tip: Your goal is to stretch the material to the same degree it would be stretched when worn. Avoid overstretching, as this can thin the material too much and cause the paint to bleed.
Step 3: Apply Thin, Even Layers
Thick coats of paint are the primary cause of cracking and stiffness. You should always apply your paint in multiple thin layers instead of one heavy coat. This technique allows the paint to cure properly and maintain maximum flexibility.
Follow this simple process for the best results:
- Pour a small amount of paint onto your palette.
- Use a soft-bristled brush to apply a light, even coat.
- Let the first layer dry completely to the touch. This can take 30 minutes to an hour.
- Apply the next thin layer to build up color opacity.
- Repeat until you achieve your desired vibrancy. Most colors require 2-3 coats.
Applying thin layers ensures the paint works its way into the weave of the fabric rather than just sitting on top. This creates a durable design that feels soft and moves naturally with the garment.
Step 4: Allow for Proper Drying Time
You must practice patience after applying your final coat of paint. Rushing the drying process can ruin your design. The paint needs adequate time to air cure before you handle it or move to the final heat-setting step. Most fabric paints require at least 24 hours to dry completely.
Drying Tip: To check if the paint is dry, gently touch a less visible corner of your design. It should not feel cool, tacky, or sticky. If it does, you need to give it more time.
Several factors can affect the drying time:
- Paint Thickness: Thicker layers will take longer to dry than thin ones.
- Humidity: High humidity in the air can significantly slow down the evaporation process.
- Airflow: A well-ventilated room helps the paint dry faster.
Keep your stretched fabric in a safe, clean, and dry place. This location should be free from dust and pet hair. You want to prevent anything from sticking to your semi-cured design.
Step 5: Heat-Set for Permanence
Heat-setting is the most important step for creating a permanent, washable design. This process uses heat to cure the paint. It creates a strong chemical bond between the paint and the Lycra fibers. You must heat-set your design. If you skip this step, your beautiful artwork will wash away in the laundry.
You have two reliable methods for heat-setting your project.
Method 1: Using an Iron This is the most common and precise method.
- Wait at least 24 hours after your final paint coat is completely dry.
- Set your household iron to a Medium-High setting. You must turn the steam function OFF. Steam can re-introduce moisture and ruin the paint.
- Place a press cloth over your painted design. You can use a thin piece of cotton fabric, a tea towel, or parchment paper. Never place the hot iron directly onto the paint.
- Press the iron over the design for 2-5 minutes. Keep the iron moving constantly to avoid scorching the fabric or melting the synthetic fibers.
Method 2: Using a Clothes Dryer This method works well for larger items or projects with paint on all sides.
- Let the paint air dry for at least 24-48 hours. The paint must be fully cured on the surface before tumbling.
- Turn the garment inside out to protect the painted design.
- Place the item in the dryer with a few towels to help it tumble evenly.
- Run the dryer on the highest heat setting for 30 minutes.
This table compares the two methods to help you choose the best one for your project.
| Method | Pros | Cons |
|---|---|---|
| Iron | Precise control over heat | Time-consuming for large items |
| Dryer | Easy for large or complex items | Less control over heat distribution |
After you finish heat-setting, your custom Lycra garment is complete. It is now flexible, durable, and ready to withstand washing and wear. 🔥
Common Mistakes to Avoid When Painting Spandex
You can achieve amazing results on stretch materials by avoiding a few common pitfalls. Understanding these mistakes helps you protect your hard work and create a durable, professional-looking design.
Using the Wrong Type of Paint
You must choose a paint designed for textiles. Using standard acrylic craft paint is a frequent error that leads to poor results. This type of paint dries into a rigid, inflexible layer. When you stretch the spandex, the stiff paint will crack and flake off. It can also make the fabric lose its natural elasticity in the painted area.
For a successful project, you need a formula that bonds with synthetic fibers. Always select a dedicated fabric paint or mix your acrylics with a flexible fabric medium like GAC 900.
Forgetting to Pre-Stretch the Fabric
Skipping the pre-stretching step will ruin your design. If you paint on a relaxed garment, the design looks fine initially. However, the paint only sits on the surface of the closed fibers. The moment you wear the item and the material stretches, your artwork will crack and reveal the unpainted fabric underneath.
You must stretch the material over cardboard or a plastic form before painting. This action opens the weave, allowing the paint to penetrate deep into the fibers for a lasting finish.
Applying Paint Too Thickly
You should resist the urge to apply paint in one thick coat. Heavy layers of paint create a stiff, uncomfortable patch on the garment. This thickness also makes the design much more likely to crack and peel with movement.
Follow this simple rule for best results:
- Don’t: Apply one heavy, goopy layer to get coverage quickly.
- Do: Apply multiple thin, even layers. Allow each layer to dry completely before adding the next one.
This method builds color gradually and maintains the material’s softness and flexibility.
Improper Heat-Setting Technique
You must properly heat-set your design to make it permanent. This final step cures the paint, but incorrect technique can ruin both your artwork and the garment itself. The most common error is applying too much heat. Spandex fabric is very vulnerable to heat damage. The polyurethane polymer that gives spandex its amazing stretch is highly susceptible to high temperatures.
Another mistake is not applying heat for long enough. This results in a design that is not fully cured and will wash out over time. You must find the right balance of temperature and duration for a successful outcome.
This table shows the risks of improper heat-setting:
| Heat Level | Duration | Result |
|---|---|---|
| Too High | Any | Melted fibers, permanent loss of stretch |
| Correct | Too Short | Paint washes out, not permanent |
| Too Low | Any | Paint does not cure properly |
| Correct | Correct | Durable, flexible, washable design ✅ |
If you are worried about using an iron, you have other options. You can use a clothes dryer for a gentler, more even heat.
- Home Clothes Dryer: Tumble the garment on the hottest setting for 60 to 90 minutes.
- Commercial Clothes Dryer: Use the hottest setting for 45 to 60 minutes.
For a no-heat solution, you can add a product like Jacquard’s ‘Air Fix’ directly to your paint. This additive allows the paint to cure and become permanent without any heat. If your item will not be washed, like a costume piece for a single event, you may not need to heat-set it at all.
You need a flexible, acrylic-based fabric paint for lycra spandex to achieve professional, durable results. Your ultimate success comes from combining the right paint with the correct application method. This process ensures your custom lycra fabric looks amazing and endures through wear and washing.
Remember these key steps: pre-stretch the fabric, apply thin coats, and properly heat-set your final design for a crack-free finish.
FAQ
Can I mix different brands of fabric paint?
You should test a small batch on scrap fabric first. Mixing brands can alter the paint’s consistency and permanence. For guaranteed results, you should use paints from a single brand or mix standard acrylics with a dedicated fabric medium.
How do I fix a mistake while painting?
You must act quickly while the paint is still wet. Blot the fresh paint immediately with a damp cloth. Once the paint dries, it becomes permanent. You can then try painting over the error with your fabric’s original color.
Will the paint make the fabric less breathable?
Yes, heavy paint application can reduce a fabric’s breathability. You maintain airflow by applying the paint in several thin layers. This method allows the paint to bond with the fibers instead of creating a solid, non-porous surface. 🌬️
Can I use an airbrush with these paints?
You can use many fabric paints in an airbrush. You will likely need to thin the paint with water or a specific airbrush medium to get the right consistency.
Tip: Always check the paint manufacturer’s instructions for recommended thinning ratios to avoid clogging your airbrush.